Frequently asked question
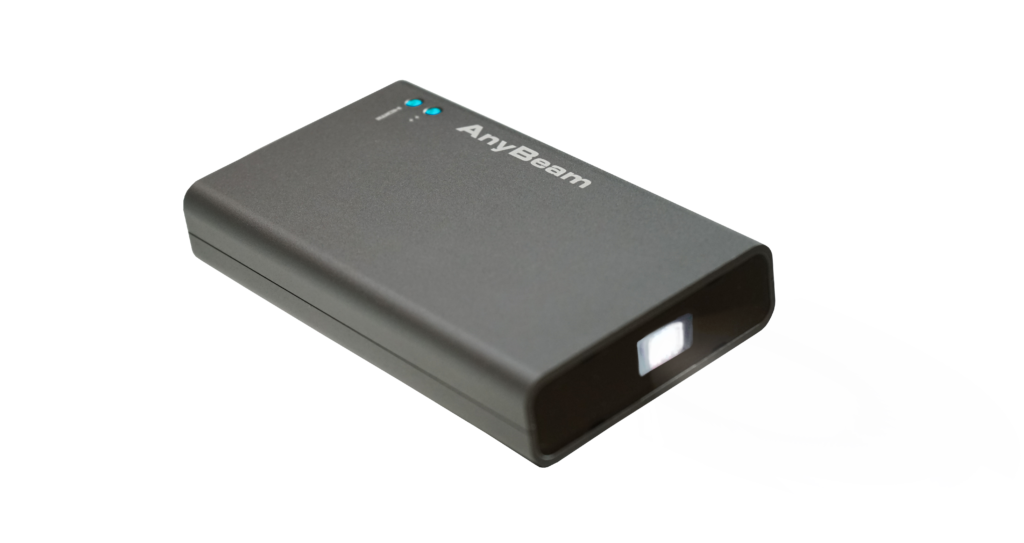
AnyBeam
Basic Problem
- Business Projectors: A business projectors usually goes with higher brightness and is equipped to deal with a variety of media options, from text documents, power point presentations, films to audio files.
- Home Theater Projectors: home theater projectors usually support various kinds of input resolutions, and are optimized indoor for films and TV programs. They’re designed to handle things like Blu-Ray and 4K video.
- Pico Projectors: Pico Projectors are ultra-small, ultra-lightweight, and designed to be taken with you. They project content from your phone, laptop or other devices, no matter where you are. But brightness and resolution would likely be an issue.
The type you choose will depend on your real needs as well as the environment around you.
| LCD Projectors | DLP Projectors (LED/ Laser) | MEMS Laser Scanning projectors |
Resolution | Fair | Excellent | Good |
Color Contrast | Poor | Good~Excellent | Excellent |
Brightness | Good | Good | Fair |
Partial projection | X | X | V |
Focus | Manual or Semi-automatic | Manual or Semi-automatic | Focus Free |
Projection on curved surface | X Partial out of focus | X Partial out of focus | Excellent |
Level of Power saving | Poor | Fair | Excellent |
noise interference | V | V | Fanless |
Remarks | Low resolution | for low, middle and high-end products | suitable for movie or video unsuitable for small text |
b. 20,000-hour lamp life = 8 hours a day 5 days a week 50 weeks a year…it’s an estimated lifespan of ten years
c. Laser diodes don’t go failed the way lamps do
d. Color Richness
e. Instant on and off
f. Fanless and no cooling-off period required
g. Power Saving
h. Every projector goes with the decay of luminance due to the aging of the light source. The decay of AnyBeam’s luminance is slower and smoother…Brightness can be maintained relatively longer.
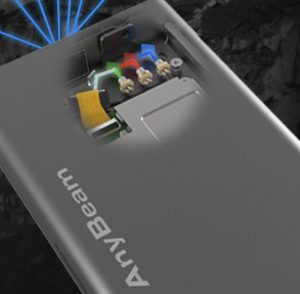
A laser scanning projector, uses 3 lasers diodes (red, green, blue) to make an image. Since laser itself owns the feature of focus free…unlike DLP, our 2D MEMS scanning technology simply reflects the laser beam. As a consequence, when laser beam comes out of our optical engine, it still can keep the focus-free feature.
By using the focus free Anybeam, you could just simply project at any places and in any scenario without calibrating the projector to get sharp images. You can save time to adjust the projector.
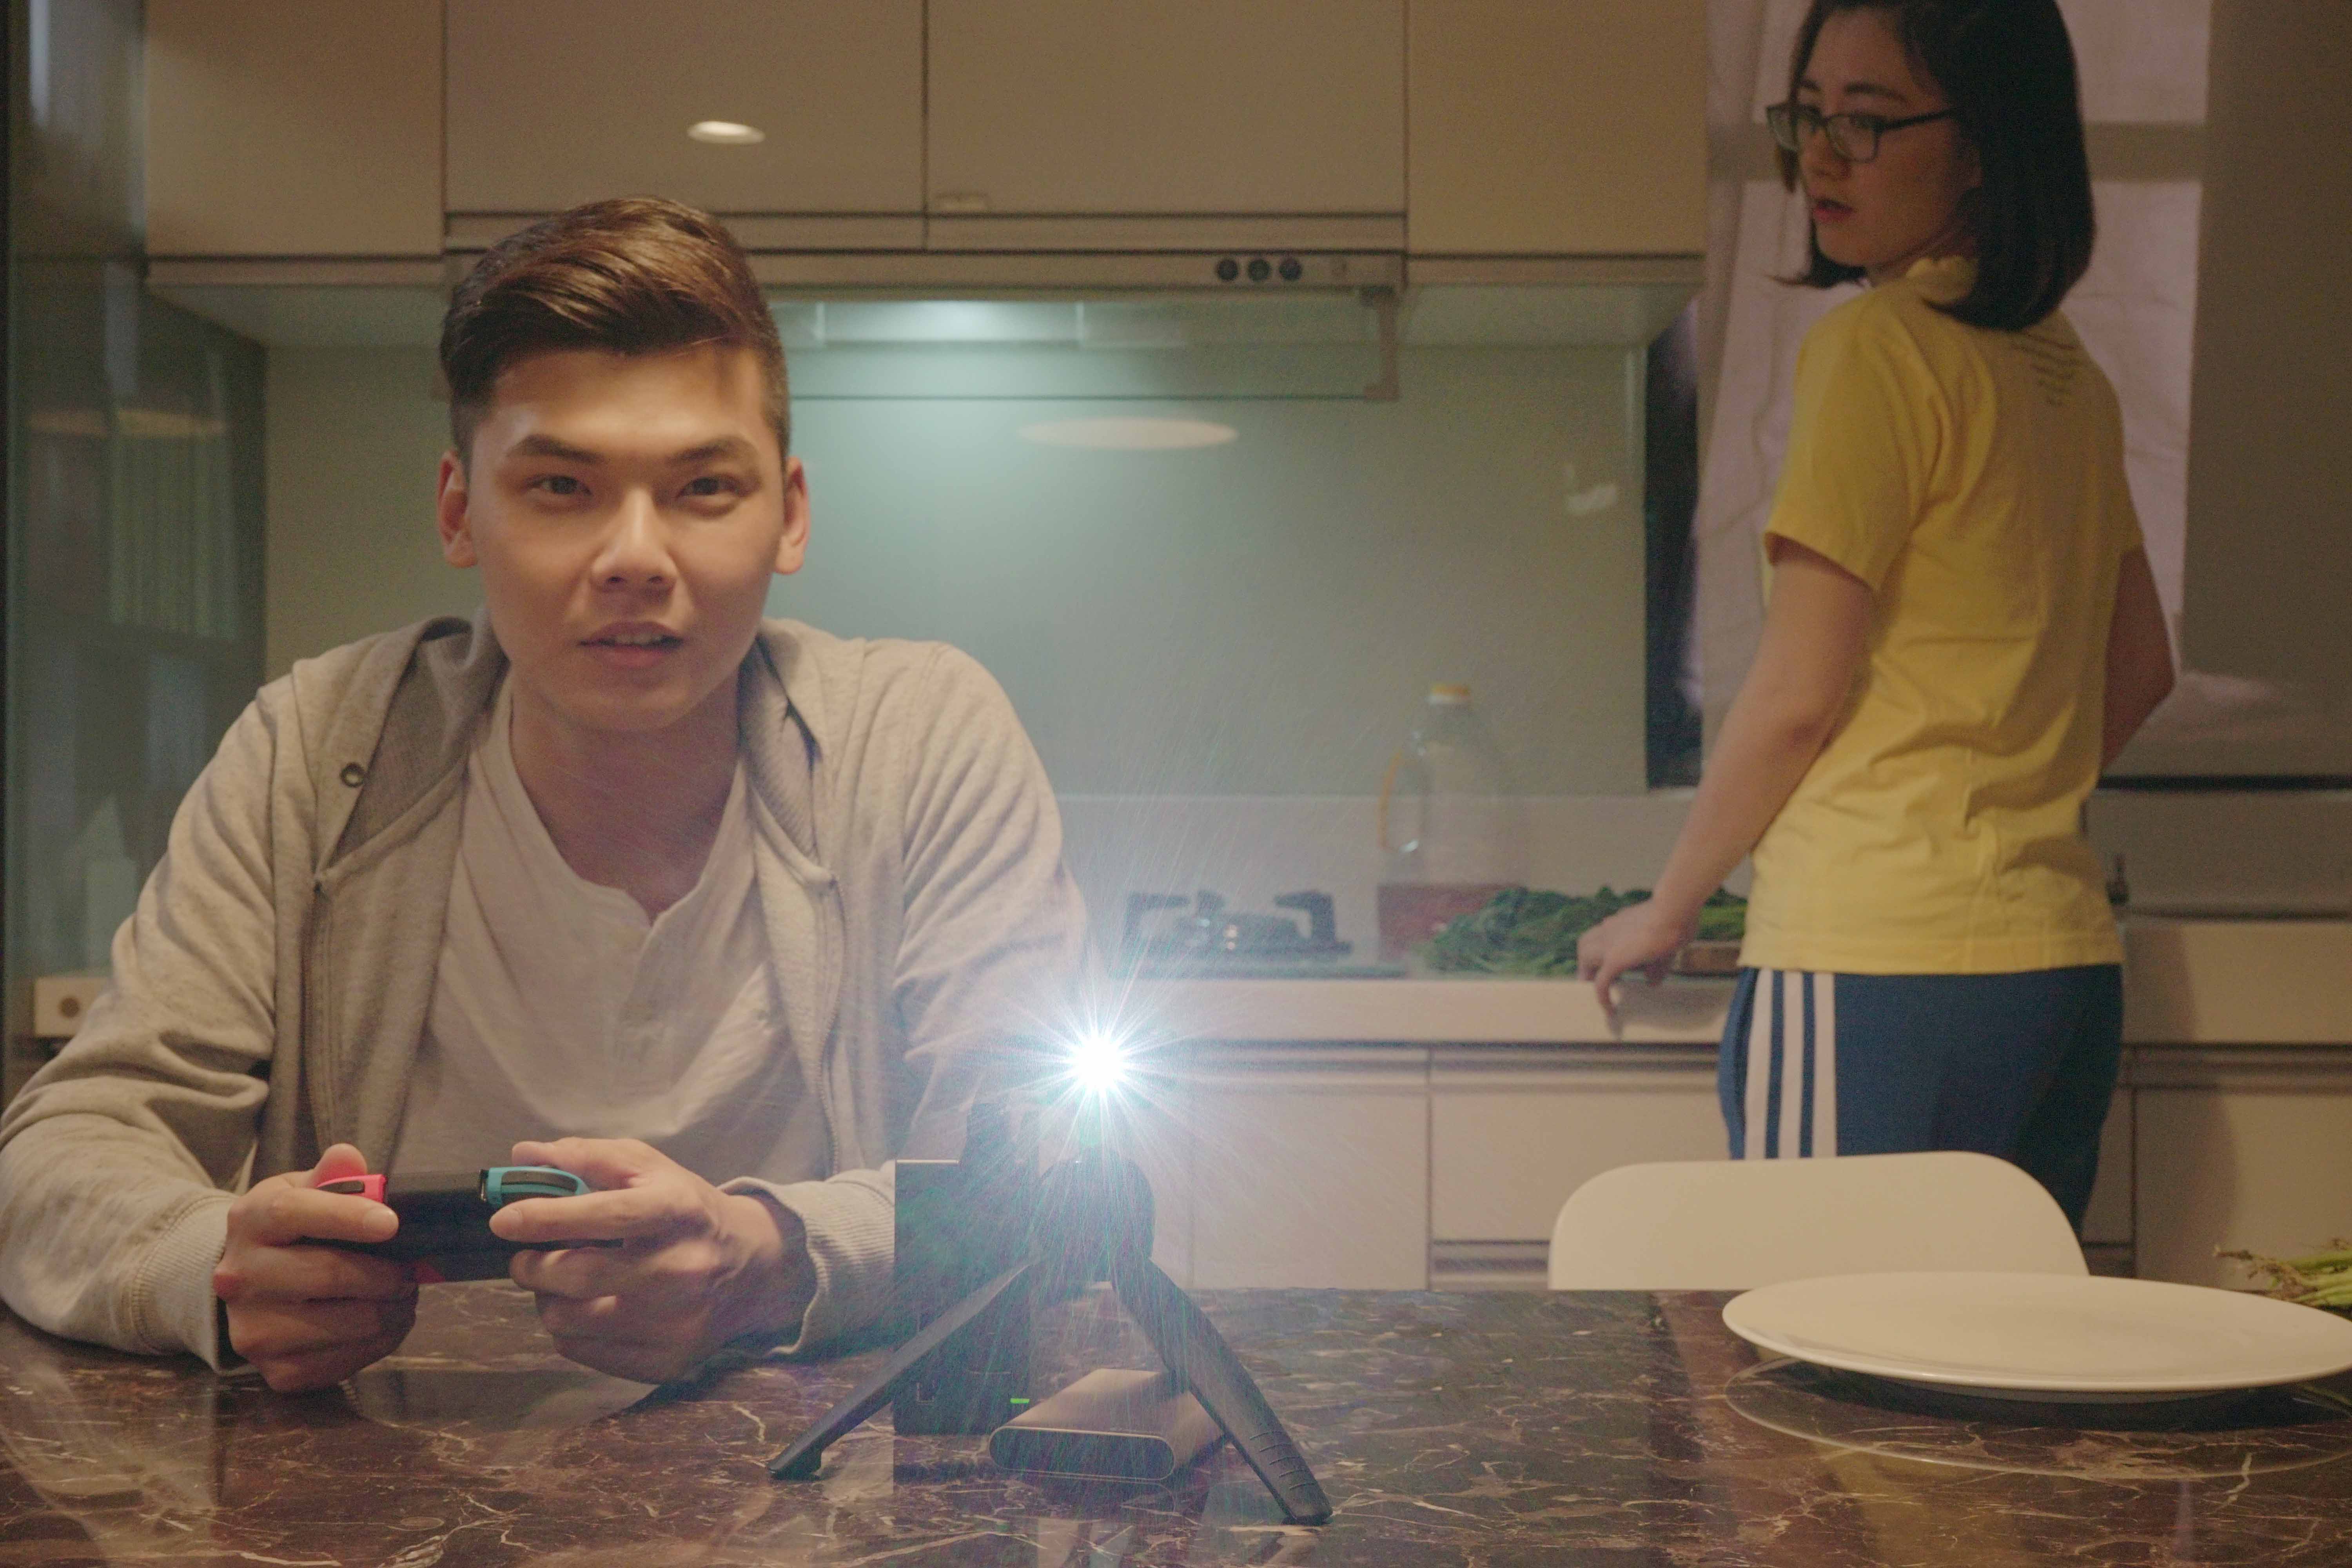
When a laser beam scanning projector sends light beams to the whole image on a wall or a screen so that an image is formed on the wall or screen. But no projection for black part of image, so that becomes partial projection.
- In simple terms, Lumens (denoted by lm) are a measure of the total amount of visible light (to the human eye) from a lamp or light source. In the projector’s industry the formal term is “ANSI lumens”, ANSI being short for American National Standards institute.
- Some say: “More lumens means it’s a brighter light” But not exactly! You could only say that, when at the same distance. So, how to use lumens to choose a projector? There is no firm answer – it will depend on a number of factors including; room size and shape, height of ceilings, color scheme, type of lamps & fitting, task areas and needs of the user.
When laser light illuminates a diffuse object, it produces a random interference effect known as a speckle pattern. Speckle is basically a form of noise, which degrades the quality of an image and may make its visual or digital interpretation more complex.
Lasers appear grainy, primarily due to interference. In case to have better visual experience, we suggest to use the MEMS Laser pico projector in a full dark room at 1.5 to 2m projection distance with 50-70 inch projection size.
To make a trade-off between the brightness and the color temperature, we set the fixed color temperature, thus it is not possible to adjust the color temperature on your own. We apologize for any inconvenience it might cause, and thank you for understanding.
For safety concern and the popularity of power bank, there’s no built-in battery in Anybeam MEMS Laser Pico Projector. Please find a power bank to power AnyBeam up.
If there’s no signal or there is an input with improper resolution, then the projector would stay at the image of “waiting for connection”. And you might hear the sound but with no image shown. When the suitable video signal is received, within 5 seconds, the projector will project automatically.
Fix: Please make sure the HDMI cable is well-connected. Or if you have another HDMI cable available, try connecting the devices by using the new cable. If you need assistance, please contact Anybeam’s support team at anybeamstore@gmail.com.
Connection Problem
The device can be powered directly from the USB interface by 5V power input. For the HDMI port, please use the HDMI cable for video and audio transmission. Since most people already have these cables, so we save cables for the simpler package. You could also get our recommended cables thru purchasing from our website.
There’s no difference between which cable you plug in first. If you start with the Micro USB cable, then the device will project the image with” waiting for connection” until the HDMI cable is connected.
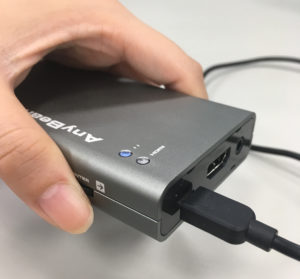
Not really! Unplugging the cables is just like to turn off the switch, normally it won’t cause any damage.
●(Computer) 透過HDMI-HDMI cable
●(Mobile) 透過MHL轉HDMI,支援列表如右:http://www.mhltech.org/devices.aspx
●(Computer-Mobile) 透過Type C(DP)轉HDMI
●(iOS device) 透過lightning AV adaptor
You could connect with the laptop, Blu-ray Disc playback, Set-top box, MOD, Game Console etc. …through the adaptor. If the HDMI auto-detection feature does not work smoothly, please set the output resolution as 720p.
Please manually set the resolution as 720p. Please do not hesitate to contact us, if it’s not solved.
Non-Apple Lightning charging cables may stop working after an iOS software update. If you use the non-Apple Lightning cable which is certified by Apple, you might try to update the firmware to solve the problem. Or we suggest you to use an Apple brand Lightning cable to solve the issue directly.
It depends on the spec of your mobile phone. NOT all Type-C mobile phone can support the HDMI output from the display port. If it’s not supported, then the NO SIGNAL image will be shown, no matter it’s on Anybeam or on other devices (i.e. TV). Instead, we suggest to use Wi-Fi dongle.
This is because electricity is not enough, which might cause AnyBeam blackout, or might result in a frozen screen or even system crash, so you could not activate the OSD mode. Please reboot Anybeam to solve this problem.
Maybe it is caused by the disturbance of the power socket. So we suggest to use the power bank directly to check whether the flickering or flashing issue is solved or not. Another approach is to hold down the jog lever for 3 seconds to enter the OSD mode. Select [Sharpness] to adjust. When adjusting, please see the line whether it is aligned or merged into one. If yes, please save the setting and try again.
Connecting to Cellphone
- By Lighnting to HDMI AV Adapter (Original ones are recommended)
- By using WiFi display dongle (e.g. Google Chromecast),but the App is required such as YouTube.
Note: The setting of the WiFi display dongle may vary depending on manufacturer and model, please refer to its user manual.
By HDMI Adapter or WiFi Display Dongle.
Note1: Please make sure that your Android device supports A/V signal output before using HDMI adapter.
This feature is only available on the following Samsung devices:
- Galaxy S8 and S8+
- Note 8
- Galaxy S9 and S9+
- Galaxy Book
- Note 9
- Galaxy Tab S4
- Galaxy S10 range
- Tab S5e
- Note 10 range
- Tab S6
- Galaxy Fold
- A90 5G
- Galaxy Z Flip
- Galaxy Z Fold2
- Galaxy S20 range
- Galaxy Note20 range
- Tab S7 / 7+
- Galaxy S21 range
Note 2: The setting of the WiFi display dongle may vary depending on manufacturer and model, please refer to its user manual.
Speaker Problem
Please remove the power cable from micro USB port of the device and plug in again. Then check whether the problem is solved or not, when the device is restarting.
Yes. There’s 1W built-in speaker in the device. You can save the cable connection with external speakers if there is no bigger sound needed.
Yes, besides the 1W built-in speaker, you may use other speaker via the 3.5mm audio jack. If the sound doesn’t come out automatically, then please hold down the jog lever for 3 seconds to enter the OSD mode. Select [AUDIO SOURCE SETTING/ LINE OUT] to force the audio to come out from the connected speakers.
It might be caused by the firmware with some HDMI input. Normally it can be solved by updating the firmware on-line or sending back to the local dealer or manufacturer for repair.
The Anybeam’s audio jack is designed for earphones. There are different resistances among external speakers. So please select the speakers with similar resistance as the earphones’.
Please change another external speaker or hold down the jog lever for 3 seconds to enter the OSD mode. Select [AUDIO SOURCE SETTING/ LINE OUT] to force the audio to come out from the connected speakers.
It is supposed to be the background noise of the speaker after many tests by our engineer, but it does not affect the performance of product. The definition of normal usage is playing the video or pictures by the Anybeam, and the sound comes out from the built-in speaker or the connected earphone.
Please check the volume settings both on Anybeam or the connected device whether it is mute or not. And please try to turn up the volume to check whether the problem is solved or not.
OSD interface Problem
Please hold down the jog lever for 3 seconds to enter the OSD mode. Select [Sharpness] to adjust. When you adjust it, please make sure the split line is aligned into one. Then, please save the setting.
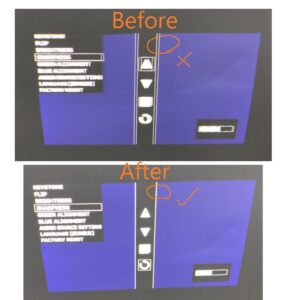
Please hold down the jog lever for 3 seconds to enter the OSD mode. Select [Sharpness] to adjust. When you adjust it, please make sure the split line is aligned into one. Then, please save the setting.

Please remember to use the OSD to adjust the sharpness and the image sharpness should be recovered after suitable adjustment.
Please hold down the jog lever for 3 seconds to enter the OSD mode. Select [Green/ Blue Alignment] to adjust. Please review the edge of left/ right side of the chessboard pattern to check whether the green/ red line is gone, then save the setting.

Trouble shooting
Our Pico projector is a product with high precision. Do not use the projector close to water or under heavy moisture. To reduce the risk of fire and/or electric shock, do not expose the projector to in the rain as well.
The projector has low power consumption, thus there is no fan installed for cooling. The surface of projector will get a bit hotter under operation.
Please replace Micro USB cable and USB power adaptor to try again. If the problem isn’t solved, please do not hesitate to contact us.
CONTACT US
- Telephone:+886-(0)2-2918-1991
- Email:anybeamstore@gmail.com
- Business Hours:Mon.-Fri. 9:00 am-6:30 pm (CST)
- Address:No. 213, Sec. 3 Beixin Rd., 11th floor, Xindian Dist., New Taipei City 231, Taiwan (R.O.C.)


